New: Academic Computing Drop-in Sessions
Academic computing drop-in sessions are now run by members of our team on Wednesday afternoons! Head to our drop-in info page for details & schedule....
 Connecting to NX from Outside the University Campus
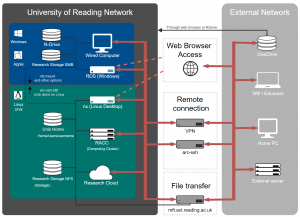
NX provides a Managed Virtual Linux Desktop on and off campus.
All university users can have access to this service (using your university credentials). If you do not have access please place a request on the DTS Self Service Portal.
There are a number of ways to connect using the NX client from off campus.
You need to register for off-campus access via a ticket to DTS through the self service portal.
The simplest and the recommended way to access the nx system is to open https://nx.reading.ac.uk:4443 in a web browser. There are some things such as mapping drives which does not work with the nxwebplayer but you can still drag and drop files on to the desktop and use the NX file transfer. Note there is a keyboard mapping issue with safari but chrome works. It is also possible to use the web url to connect to a number of pre-configured custom configurations. When you connect to one of these the you may be shown a list of existing session if you already have an existing full desktop or custom session.
| Full desktop | Full Desktop |
| Mate Terminal | Mate terminal without any desktop |
| xterm | xterm without any desktop |
| Cluster | Mate terminal running an SSH connection to the RACC |
The UoR VPN gives you a network connection through the University firewall so you can connect to NX in the usual way. However, not all users have access to the VPN, to find out more, please visit the DTS remote working page.
The easiest is to use a Pulse Secure connection from https://uorvpn.reading.ac.uk.
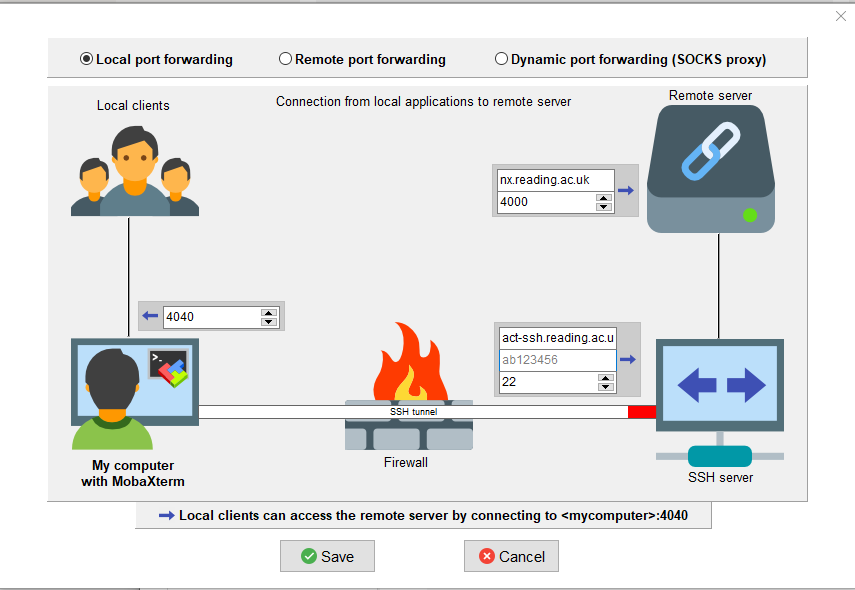
It is possible to connect to NX by creating a tunnel through arc-ssh. Use the following command to create a tunnel from a port on the localhost (4040 in the case below) to the port 4000 on nx.reading.ac.uk
ssh -f <username>@arc-ssh.reading.ac.uk -L 4040:nx.reading.ac.uk:4000 -N
The port number 4040 here is used as an example and the NX service is already running on port 4000, but you can use any free port.
You can check tunnel is listening on the localhost using the command
$ netstat -an | grep 4040
tcp        0      0 127.0.0.1:4040          0.0.0.0:*               LISTEN
tcp6       0      0 ::1:4040                :::*                    LISTE$
If you are using windows you can use “findstr 4040” instead of “grep 4040”
Now in the NX client create a connection to localhost on port 4040 or the port you have chosen to use.
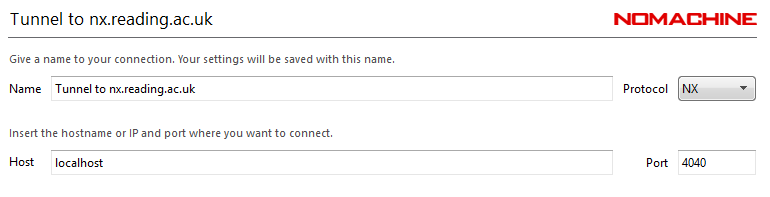
Mobaxterm users can setup the tunnel in the GUI. Here we show how to do this with a one time authentication to arc-ssh. You can also use ssh key authentications, see arc-ssh with MobaXterm – step by step guide.
Then save the tunnel and start it by clicking on the “play” button
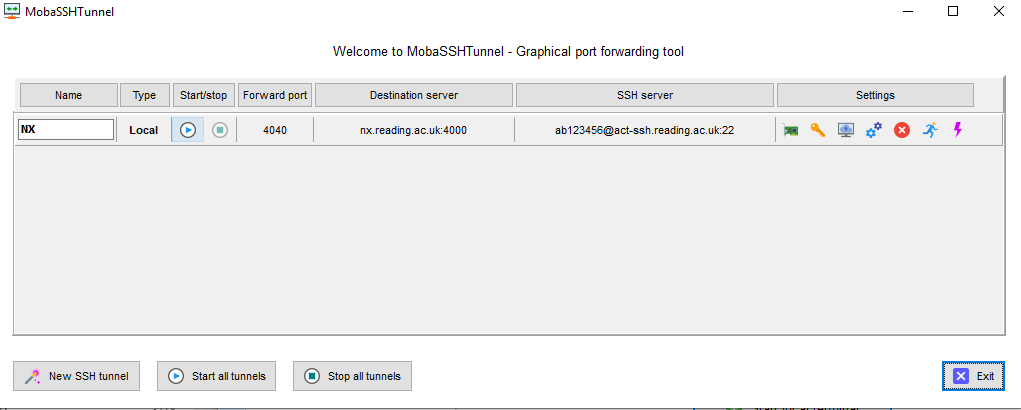
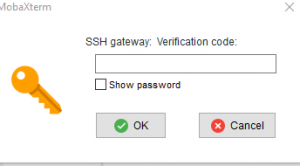
You will then be asked for your authentication code for arc-ssh.reading.ac.uk. The code will be either sent to your university email address or you can generate one on your authenticator app if you have already set that up for access to arc-ssh.reading.ac.uk
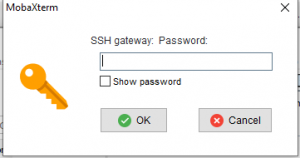
and password
The above approach will require you will enter the verification code each time you start the tunnel. If you want to automate this, you should use ssh key authentication, and connect to arc-ssh If your ssh keys are generated in MobaXterm, the tunnel connection should pick it up automatically and you do not need to set it up separately (you should use the most recent version of MobaXterm). See arc-ssh with MobaXterm – step by step guide