By Claire Smith
The first component you need for making your drop spindle is a stick. The stick needs to be nice and firm, nice and straight, ideally not much thicker than a pencil, and around 10” or 25cm long. Conveniently, Euonymus europaeus branches fulfil all of these criteria – which may or may not be why it’s known as the european spindle tree. Spindle carries it’s fruit well into the winter and often still at Christmas, making the UK woodlands a brighter place.

Once you’ve chosen the perfect branch to make the shaft of your spindle, you need to take off the bark and smooth off any knots that remain from smaller side shoots. The green bark comes away very easily with a knife or a vegetable peeler, along with the fine pithy layer underneath, and almost immediately you’re left with beautifully smooth wood. All you need to do to finish the shaft is rub it down with some fine sandpaper, just to make sure that there are no rough areas that could catch on your wool. If you’d like to, you can carve a little notch into what will become the top of the shaft, which helps to control the yarn, but it’s very much optional.
Now you’ve got your stick, you need something to give it a bit of weight, and to encourage your spindle to spin. It needs to be nicely balanced, so that your spindle rotates smoothly and without wobbling. This allows all of the energy to go into your yarn, instead of being wasted by wobbling about.

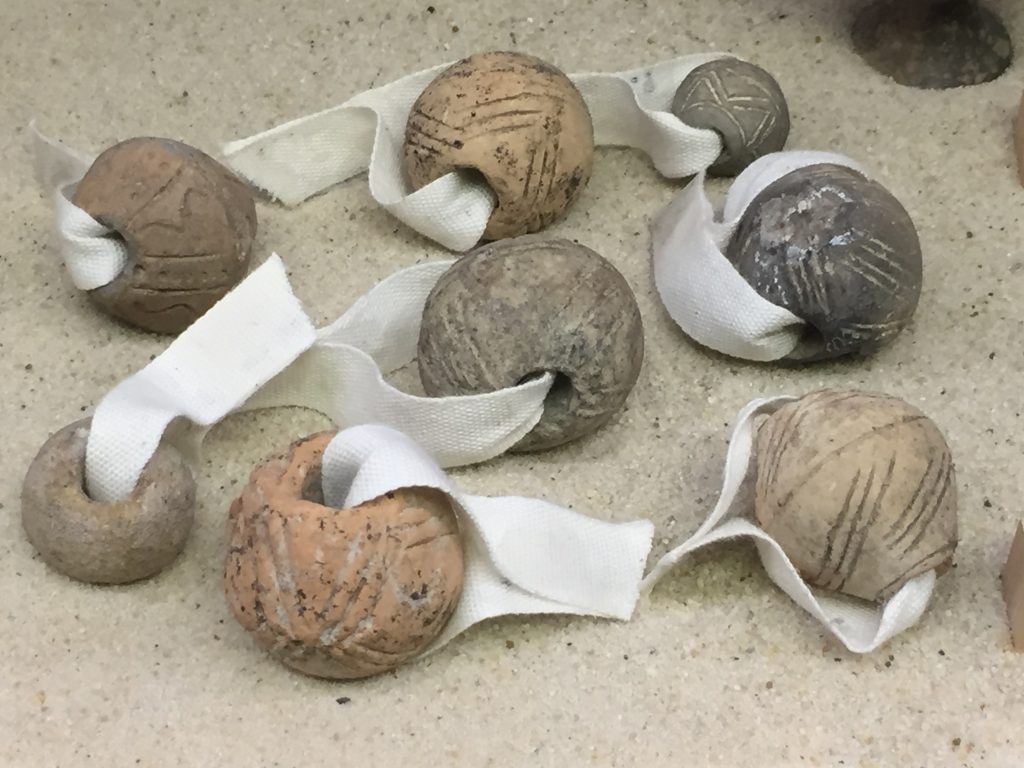
I made mine from air-drying clay, and modelled the patterns on the objects from Cyprus, shown above. If you’re spinning fibre for the production of cloth, you’re going to be spending an awful lot of time looking at your spindle, so it makes sense to me that you might go to the effort of decorating it.
When making your whorl you need to bear in mind that the resulting spindle should weigh no more than about 50 grams, otherwise it will be too heavy and your fibres may well break rather than spin. All I did was simply roll the clay into a ball that looked about the same size as the ones I saw at the Ure Museum, poke the spindle through the clay, and add my decoration.
Here’s a video that shows you how I made my spindle, and which explains a little bit about how the spinning process works. (And, as a bonus, has a random Sleeping Beauty fact at the end.)
Because I’m no spinning expert, I’d like to direct you to the YouTube channel of Abby Franquemont, who has an entire playlist about the amazing yarns you can produce with drop spindles, as well as many videos about other aspects of textile production.
